The final walk-through before closing gives buyers one last look at a property before ownership transfers — a chance to confirm that agreed-upon repairs are done, systems are functioning, and the home is exactly what was promised. Scheduled anywhere from 24 to 72 hours before closing, this step carries real weight.
This guide walks through the essential checklist items, luxury-specific considerations, and everything buyers need to know — from what they can rightfully demand at the final walk-through to who should attend and how to handle problems that surface at the eleventh hour.
Understanding the Final Walkthrough Before Closing Process
What Happens During a Final Walk-Through
The final walk-through is not a repeat of the home inspection. Where the initial inspection involved licensed professionals combing through every structural and system component, this step is more focused — confirming the property's condition matches what appears in the purchase agreement and that agreed-upon repairs were completed properly.
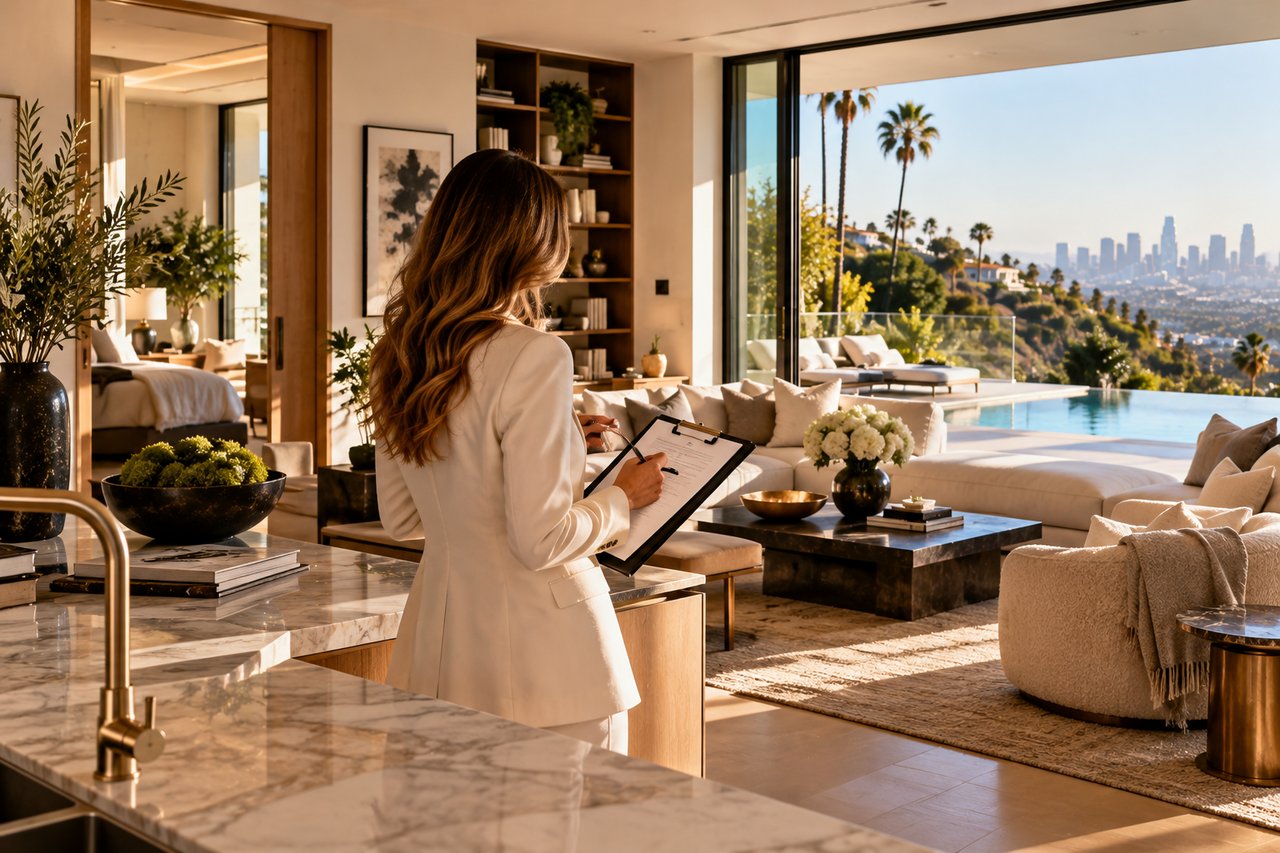
Buyers move room by room with their agent, checking completed repairs, testing appliances and fixtures, verifying utilities, inspecting walls and ceilings, and confirming HVAC functionality. The seller and seller's agent typically stay away, giving buyers the space to assess the home without any pressure.
The property should be fully vacated before the walk-through begins. Most sale agreements call for 'broom-swept' condition — meaning no belongings left behind, no debris, and a clean enough space for buyers to see exactly what they're taking possession of. Repair addendums and the purchase agreement should come along for reference, and agents typically bring the seller's disclosure form, inspection report, and any repair amendments. Receipts for seller-completed repairs are worth requesting as well, since they serve as direct verification. There's no fee for any of this.
Worth noting: about 5% of final walk-throughs surface issues significant enough to delay or derail closing entirely. Problems run the full range — from dirty carpets to major system failures. Attention to detail at this stage is what keeps costly surprises from appearing after the keys change hands.
When to Schedule Your Final Walk-Through
Most buyers schedule the walk-through 24 to 72 hours before their closing appointment, though some opt for the morning of closing day. The better approach is 48 to 72 hours out — enough time to catch problems and work toward solutions, without creating a window for new issues to emerge.
Scheduling too close to closing leaves little room to respond if something surfaces during the seller's move. Going too early carries its own risks. The property should be completely vacated before the walk-through happens — if the seller is still in the process of moving out, buyers can and should request a reschedule. An empty home is simply easier to assess; furnishings and boxes obstruct the kind of clear-eyed view this step requires. The less time between the walk-through and possession, the less opportunity for anything to shift after buyers have already signed off.
How Long the Process Takes
Size and complexity determine the time. A smaller home might take 15 minutes; a larger property can run well over an hour. For a thorough pass through every room, inside and out, 60 to 90 minutes is a reasonable target.
Most walk-throughs fall somewhere in the 30 to 60 minute range. Pools, detached structures, and additional outbuildings add to that, and very large properties can extend the process to several hours. Rushing is the one thing to avoid — missed details at this stage tend to show up as expenses later.
Good natural light matters too, particularly when checking attics, basements, or exterior areas. This is the final opportunity to assess the home before the purchase is complete, and it deserves the time that warrants.
Essential Final Walkthrough Checklist Items
"Personally, I wouldn’t buy a property without having an inspection done, and I’d hire the best [inspector] I could find." — Loren Keim, Professor of finance and real estate at Lehigh University and president of real estate firm Century 21 Keim
Verify All Agreed-Upon Repairs
Confirming completed repairs is the primary objective of any final walkthrough before closing. With the inspection report and purchase agreement in hand, buyers should go through every negotiated repair one by one. A contract that specified fixing a leaking pipe under the sink? Run water for several minutes and check carefully. Touch-up paint agreed upon? Look closely at whether the repair blends with the surrounding surface — mismatched finishes are a telling sign of a rushed job.
Request repair receipts, warranties, and contractor contact information from the seller. Incomplete work or temporary fixes that fall short of what was agreed upon should be photographed, noted in detail, and reported to the real estate agent without delay.
Test All Appliances and Systems
Turn on the oven and cooktop to confirm proper heating. Run the dishwasher through a short cycle. Check that the refrigerator and freezer are cooling adequately, and run brief wash and spin cycles on the washing machine and dryer. The garbage disposal should operate cleanly, without unusual sounds.
The HVAC system deserves attention regardless of the weather outside. Adjust the thermostat several degrees above room temperature to activate heating, then switch to cooling mode. Confirm that warm or cool air moves from every vent and that the system cycles on and off without issue. Exhaust fans above the stove and in bathrooms should be tested for proper ventilation as well.
Check Plumbing and Water Features
Run hot and cold water at every faucet, letting each flow for at least a full minute. Watch for sputtering, discoloration, or slow drainage — any of these warrants a closer look. Flush all toilets and confirm they refill without running continuously or leaking at the base. Showers and bathtubs should be checked for consistent water pressure.
A flashlight under each sink can reveal drips, wet spots, or corrosion around visible pipes. Water heaters typically last 8 to 12 years, so note the manufacturer, model, and installation date if accessible, then check the water temperature at multiple faucets and observe how long it takes to heat up.
Inspect Electrical Systems and Smart Home Technology
Test outlets in each room using a phone charger, or better yet, pick up an inexpensive receptacle tester — it costs under $10 and confirms proper wiring more reliably than a charger alone. Kitchen, bathroom, and outdoor GFCI outlets deserve particular attention; press the test and reset buttons on each to confirm they trip and reset correctly. Flip every light switch in every room, closets and hallways included.
Smart home devices depend on stable electrical systems with proper grounding. Homes with two-prong outlets throughout likely lack grounding, which most smart outlets and in-wall switches require to function safely. Flickering lights or frequent breaker trips when appliances run point to voltage fluctuations or circuits that are already overtaxed. Buyers should also confirm that internet service is still active — without it, smart home systems may be inaccessible even if the hardware is intact.
Examine Walls, Floors, and Ceilings
Walls should be checked carefully for cracks, holes, water stains, or damage that furniture or artwork may have hidden during earlier visits. Ceilings deserve equal scrutiny — cracks, sagging, or discoloration can indicate leaks or structural concerns worth addressing. Floors, particularly in bathrooms and basements, should be evaluated for cracks, unevenness, or moisture damage. Check baseboards and crown molding for gaps or separation from the wall.
Look behind any remaining furniture for unpatched holes or wall damage. Corners and areas that were previously covered are worth a close look for any signs of mold, especially in spaces where moisture tends to accumulate.
Review Security Systems and Access Controls
Every exterior and interior door should open, close, and lock smoothly. Windows need to be opened and shut fully, with locks confirmed and screens checked for damage or missing panels. For homes with security systems, garage keypads, or smart locks, each component should be tested individually.
Before leaving, verify that all keys, remotes, access codes, and system manuals have been handed over. Security system settings should match manufacturer specifications, and any intermittent reader issues, slow door releases, or battery warnings are worth flagging — these tend to signal deferred maintenance rather than isolated incidents.
Luxury Property Considerations Worth Knowing
Standard walk-through protocol only goes so far. High-end properties come with systems and installations that require a more practiced eye — and skipping over them can mean inheriting problems that are expensive to fix.
Wine Storage and Climate Control Systems
A properly functioning wine storage system holds temperature between 55-57°F and maintains humidity at 50-70%. Sub-Zero wine coolers with dual-zone capabilities allow separate settings for different varietals — worth confirming during the walk-through. Check that cooling units activate and that digital displays reflect accurate readings. Humidity levels below 50% can dry corks and compromise an entire collection, so test integrated humidifier functions as well. Maintenance records for climate control systems are worth requesting, as annual professional servicing keeps costly failures at bay.
Home Automation and Theater Systems
Control4, Savant, and Crestron are the three platforms buyers are most likely to encounter in luxury homes. Test preset scenes — lights dimming, blinds lowering, projectors activating — all from a single command. Confirm the control tablet responds accurately and that internet connectivity is stable enough to support the system. Collect all access codes, user manuals, and installer contacts before leaving.
For theater audio, Dolby Atmos systems use ceiling speakers to create genuinely immersive sound. Run test sequences through each speaker zone to confirm everything performs as it should.
For those who love to entertain, the right home makes all the difference. Christina Pope is happy to help buyers find spaces built for elevated living. 📞 310-404-9931 ✉️ [email protected]
Pool, Spa, and Water Feature Functionality
Pool equipment warrants its own dedicated attention — pump motors, blowers, filters, and heating systems should all be tested. Ground fault circuit interrupter protection on every pool electrical component is non-negotiable. Spa jets, suction fittings, and water temperature controls deserve equal scrutiny.
High-End Appliance Verification
Sub-Zero/Wolf, Gaggenau, and Thermador set the standard in luxury kitchens. Thermador dishwashers, for example, use volcanic Zeolite elements to complete a full wash cycle in 20 minutes — a feature worth verifying is fully operational. Test convection ovens, induction cooktops, and built-in coffee systems. For app-controlled appliances, confirm Wi-Fi connectivity is active and functioning.
What to Bring and Who Should Attend
Preparation makes the difference between a productive walk-through and a missed opportunity. Luxury transactions — particularly in markets like Los Angeles — call for discretion, precision, and the right people in the room.
Required Documents and Tools
The purchase agreement, inspection report, and any written repair agreements are non-negotiables. Paid bills, warranties, and appliance manuals should be on hand as well. Repair receipts from work the seller completed after inspection are worth requesting ahead of time.
A notebook and pen, a phone or camera for photos, and a flashlight for basements and attics round out the basics. A phone charger can test outlets, though a receptacle tester — available for under $10 — is far more reliable for catching wiring issues.
Kathryn Catherwood, Director of Sales and Marketing at Keel Custom Homes, makes a practical point: buyers should also bring their selections documentation to verify chosen finishes and features, and use the walk-through to record shutoff locations, emergency contacts, filter sizes, and system operations. It goes well beyond a checklist.
Key Attendees for the Walk-Through
The buyer and buyer's agent are the only required attendees. The seller's presence is generally unnecessary — unless the buyer specifically requests it, in which case the seller's agent should be there as well[211].
When to Involve Specialists or Inspectors
Buyers are welcome to bring a home inspector or the contractor who completed repairs, though additional fees typically apply. Many inspectors charge less for a final walk-through than for an initial inspection. When the quality of a repair genuinely warrants professional eyes, coordinate access through the agent well in advance.
Christina Pope | Sotheby's International Realty 📞 310-404-9931 | ✉️ [email protected]EliteResidenceInternational.com
Handling Issues During Your Final Walk-Through
"The most expensive MISTAKE on closing day is the one you don't catch! Even minor errors in closing documents can have major financial consequences." — Lulich & Attorneys, Real Estate Attorneys
Problems do surface — and when they do, how a buyer responds matters as much as what they find.
Documenting Problems with Photos and Notes
The moment an issue is spotted, document it. Photos, short video clips, and concise written notes that timestamp discoveries create a clear record of the property's condition and make disputes difficult. This evidence becomes the foundation for any negotiation that follows and keeps the conversation grounded in facts rather than memory.
Negotiating Repairs or Credits
At this stage, buyers hold real leverage. Credits at closing are often the most practical path forward — they compensate for future repair costs without the added complexity of coordinating contractor work on a tight timeline. When larger concerns require it, escrow holdbacks are another option, typically set at 125% of estimated repair costs and held by the closing agent until work is complete. Minor issues like a broken fixture rarely need to stall anything — they can usually be resolved quickly and cleanly.
Understanding Your Options to Delay Closing
Sometimes, delaying the closing is the right call — particularly when a property clearly falls short of the conditions outlined in the contract. That said, buyers should confirm they won't be forfeiting their deposit before holding up the process. Lender extensions may also be needed to keep pre-approvals and rate locks intact.
Working Through Your Agent for Resolution
Reach out to your agent first — not the seller. A seasoned agent knows how to handle these conversations with the right mix of strategy and professionalism, and they understand the contract terms and local market dynamics that make the difference between a smooth resolution and an unnecessary standoff.
Conclusion
The final walk-through is the last line of defense before closing — and one worth taking seriously. Verified repairs, tested systems, and well-documented concerns give buyers the confidence to sign knowing exactly what they're getting. Luxury properties call for an especially careful eye, given the complexity of their climate systems, automation platforms, and premium finishes.
For buyers who want both a remarkable living experience and a sound investment, Christina Pope brings the expertise and attention to detail this process demands. Reach her at 310-404-9931 or [email protected].
Key Takeaways
The final walk-through is your last chance to verify a property's condition before ownership transfers. Schedule it 48-72 hours before closing to allow time for issue resolution while minimizing new problems.
Essential Actions During Your Walk-Through:
• Verify all agreed-upon repairs using your inspection report and purchase agreement as reference, requesting receipts and warranties to confirm completion quality and dates.
• Test every system thoroughly including HVAC, plumbing, electrical outlets, appliances, and smart home technology to ensure everything functions as expected.
• Document issues immediately with timestamped photos and detailed notes, then work through your agent rather than contacting sellers directly for resolution.
• Bring critical documents including the purchase agreement, inspection report, repair addendums, and tools like flashlights and outlet testers for comprehensive verification.
• Budget adequate time allowing 30-90 minutes depending on property size, with luxury homes requiring extra attention for wine storage, automation systems, pools, and high-end appliances.
For Luxury Properties: Pay special attention to climate control systems (wine storage requires 55-57°F), home automation platforms (Control4, Savant, Crestron), and premium appliances with Wi-Fi connectivity.
Studies show 5% of final walk-throughs uncover issues severe enough to delay closing. When problems arise, negotiate repair credits or escrow holdbacks (typically 125% of estimated costs) rather than rushing fixes. Remember: this is your final safeguard before closing day—take it seriously to avoid expensive post-closing surprises.
FAQs
Q1. What is the purpose of a final walk-through before closing on a home? A final walk-through is a brief inspection conducted 24 to 72 hours before closing that allows buyers to verify the property's condition hasn't changed since earlier evaluations and that all agreed-upon repairs have been completed properly. It serves as the buyer's last opportunity to confirm appliances and fixtures are in place and functioning, utilities work correctly, and the home matches what was specified in the purchase agreement.
Q2. How long should I plan for my final walk-through inspection? Most final walk-throughs take between 30 to 60 minutes, though the duration depends on the property's size and complexity. Small homes may require only 15 minutes, while larger properties or luxury homes with additional features like pools, detached buildings, or advanced automation systems might take 60 to 90 minutes or more. It's important not to rush this process, as it's your last chance to identify issues before closing.
Q3. When is the best time to schedule a final walk-through? The optimal window for scheduling a final walk-through is 48 to 72 hours before your closing date. This timeframe provides enough space to identify and resolve any issues without leaving so much time that new problems could emerge. The walk-through should occur after the seller has completely moved out, as an empty property allows for better assessment without furnishings or clutter obstructing your view.
Q4. What should I bring to my final walk-through? Bring your purchase agreement, inspection report, and any repair addendums to reference what was promised. Essential tools include a notebook and pen for documenting concerns, a phone or camera for taking photos of any issues, a flashlight for inspecting dark spaces like basements and attics, and a phone charger or outlet tester to verify electrical functionality. Also request receipts for any repairs the seller completed after the inspection.
Q5. What happens if I discover problems during the final walk-through? If you discover issues during your final walk-through, immediately document them with timestamped photos and detailed notes, then contact your agent rather than the seller directly. You can negotiate repair credits at closing, request escrow holdbacks (typically 125% of estimated repair costs), or in cases of major issues, delay the closing. Studies show about 5% of final walk-throughs uncover problems severe enough to impact the closing process.